Why Proper Prep Is Everything?
The length of a gel manicure starts long before the first drop of polish. The secret to keeping your nails flawless for three weeks or more lies in the preparation. Here’s how nail drill bits—especially sanding bands—give you a smooth canvas for polish that won’t lift or peel.
Gel polish is designed to bond tightly to your nail plate, but any oil, dust, or shine will block that bond. A shiny nail surface acts like a repellent; the gel simply won’t stick. This is where nail drill bits transform your routine.
Using a sanding band on your e‑file lightly etches the nail plate, creating a micro‑rough texture that gives the gel something to grip. This “keying” of the nail surface is the single most important step for adhesion. It’s not about thinning your nails—it’s about removing the natural shine so the product can bite.
Without this step, your beautiful gel polish is essentially sitting on a slippery surface, destined to lift within days.
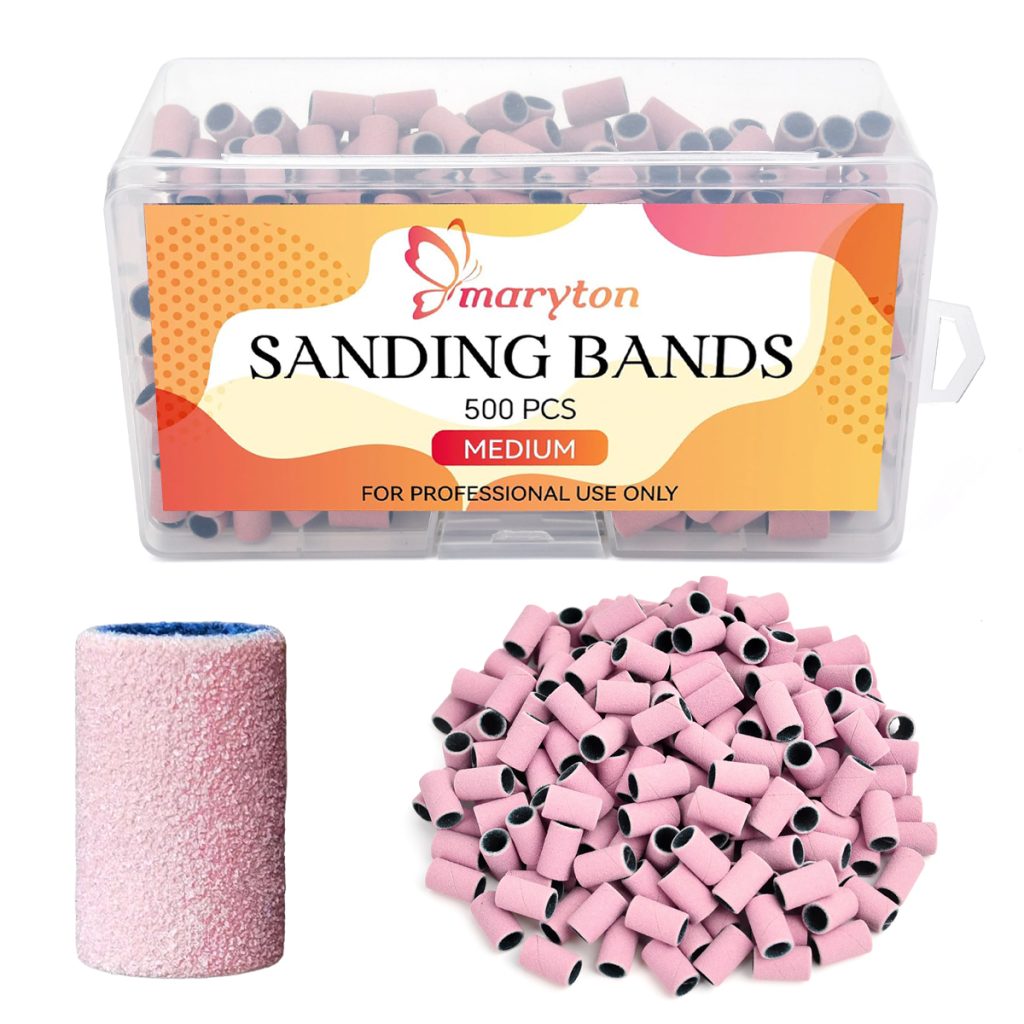
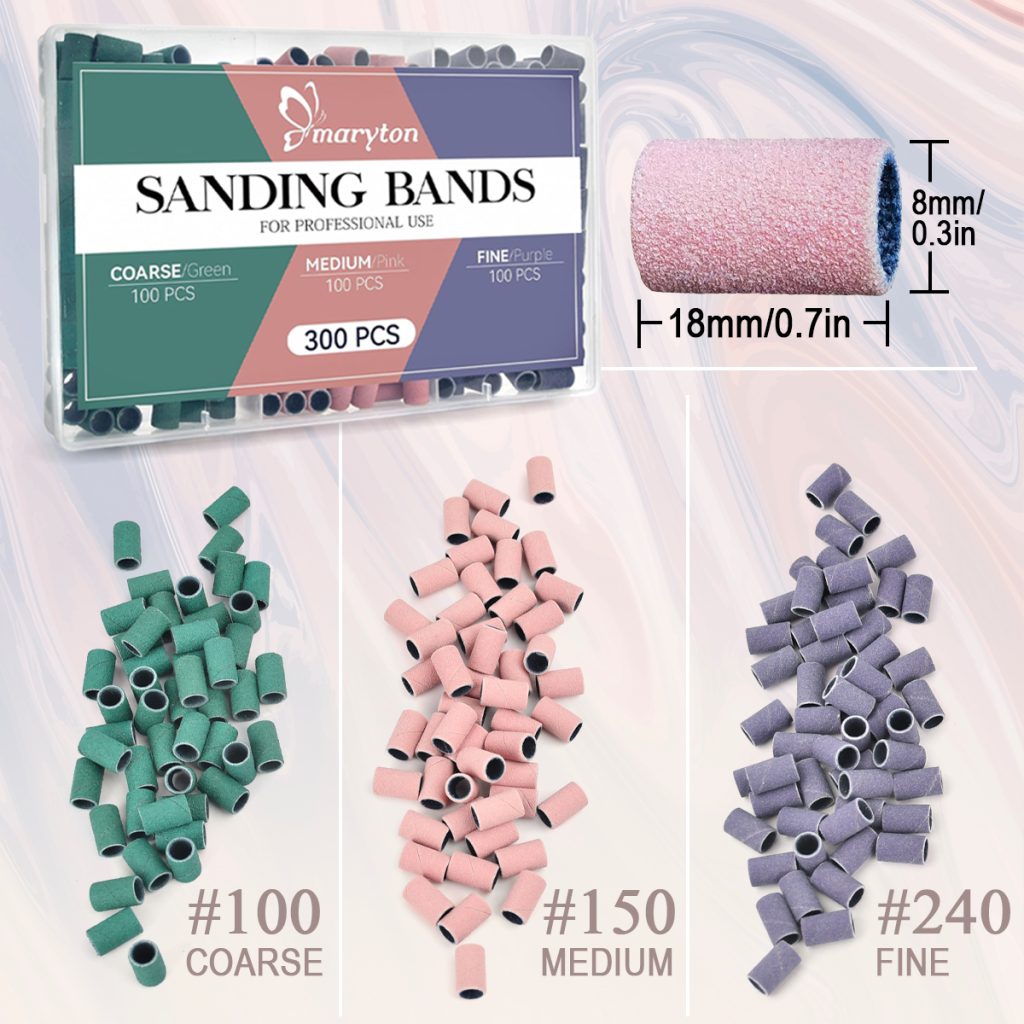
Choosing the Right Sanding Band
Not all sanding bands are created equal. For natural nail prep, stick with fine or medium‑fine grits. A 120–180 grit sanding band provides the perfect balance: effective enough to remove shine without over‑thinning the nail plate. Coarse grits (80–100) are for removing bulk acrylic or hard gel—never touch them to natural nails.
The band’s shape matters too. Slim, narrow bands offer excellent control for tight areas like sidewalls and the cuticle zone, allowing you to prep precisely without touching the skin.
The Step‑by‑Step Prep Routine That Guarantees Long Wear
1. Start with a clean slate. Wash your hands thoroughly, but skip the lotion. Oils and creams are the enemy of adhesion.
2. Push back cuticles. Use a cuticle pusher to gently push back the proximal nail fold. Do not cut living tissue—just clear the nail plate.
3. Choose your grit. Attach a 180 grit sanding band to your e‑file mandrel. Set your speed to a gentle 5,000–8,000 RPM.
4. Buff with a light touch. Hold the e‑file like a pencil and rest your pinky on the table for stability. Keep the bit moving constantly—never stop in one spot. Use long, smooth strokes from cuticle to free edge. Apply light pressure; let the band do the work. You’re removing surface shine, not thinning the nail. The nail should look matte and slightly frosted when you’re done.
5. Remove all dust. Dust is the enemy. Use a dust brush or lint‑free wipe to remove every particle before applying any product.
6. Dehydrate thoroughly. Wipe each nail with a nail cleanser or isopropyl alcohol on a lint‑free pad. Natural oils will resurface within minutes, so move quickly to the next step.
7. Apply a bonding base coat. For clients with oily nail beds, a rubberized or “sticky” base coat provides extra grip. Apply a thin, even layer and cap the free edge.
Pro Tips That Extend Wear
Always cap the free edge. After every layer—base, color, top coat—run the brush along the nail tip. This seals the most vulnerable area and prevents water from seeping underneath, which is the #1 cause of lifting.
Thin layers only. Two or three thin coats of color cure more evenly and stay put longer than one thick coat. Thick gel looks lumpy, cures unevenly, and peels faster.
Stay off the skin. Gel that touches the cuticle or sidewalls creates a weak point that lifts within days. Maintain a 1mm gap from the skin.
Cure fully. Under‑cured gel may look dry on the surface but remains soft underneath, leading to premature lifting. Follow your lamp’s recommended cure time exactly.
Common Mistakes That Ruin a Manicure
- Over‑buffing: Aggressive filing thins the nail plate, causing weakness and sensitivity. Two light passes are plenty.
- Skipping dehydration: Oily nails reject gel. Always cleanse before base coat.
- Sanding band too coarse: A coarse band on natural nails creates grooves that weaken the nail plate. Stick to fine or medium‑fine grit.
- Not capping the free edge: Unsealed tips let water in, and lifting starts there every time.
- Peeling off gel: Never pick at lifted edges. Peeling removes layers of your natural nail, and each time you peel, you lose 10–20 layers of the nail plate.
Aftercare for 3‑Week Wear
Your manicure’s longevity depends on what you do after you leave the lamp. Wear gloves for dishwashing and cleaning—water and chemicals are the fastest route to lifting. Apply cuticle oil daily to keep the skin around your nails flexible and prevent lifting at the base. Never use your nails as tools; no opening cans or peeling stickers. And if a small chip appears, file it smooth and apply a fresh layer of top coat to seal it back in.
The Bottom Line
A sanding band in the hands of someone who understands light pressure and proper speed is the most effective tool for creating a long‑lasting gel manicure. The difference between a set that lasts three days and one that lasts three weeks isn’t luck—it’s preparation. Master the prep, and your clients (or your own nails) will thank you with three weeks of flawless, chip‑free wear.
Read also: Beautiful Feet: A Guide to Understanding and Caring for Your Foundations